Stage III The home page
User Guide Stage III: Your home page
Your home page
1. Introduction
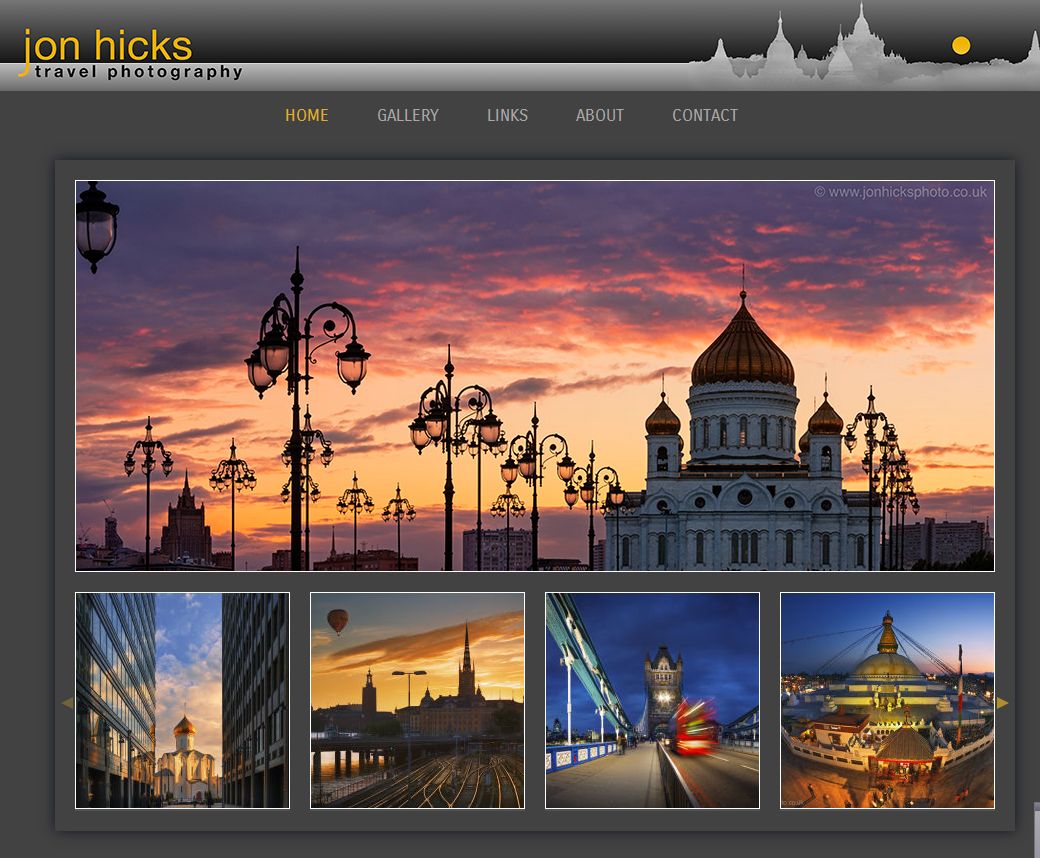
Your home page is the most important part of your website and will always appear in your menu. The structure and content can vary between each of the design styles, so your template might not have the elements we describe.
2. Editing your home page
2.1 Edit the title and text
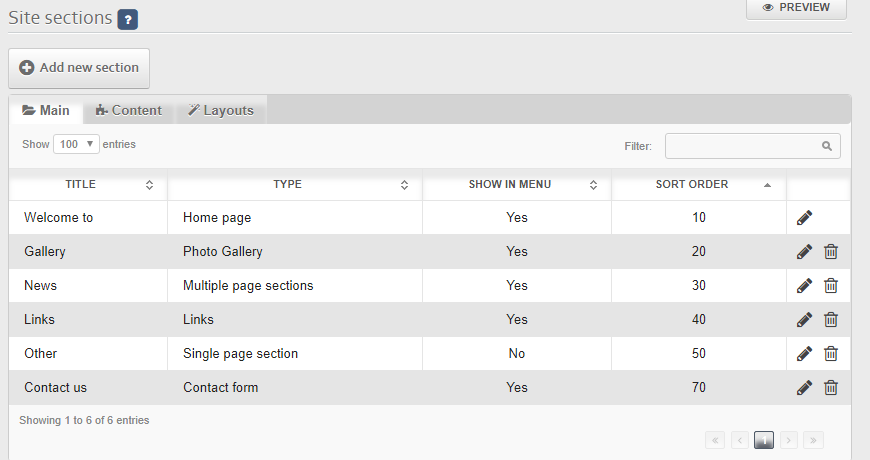
In the Clikpic system, most content is edited in the Content > Sections part of the admin system.
To edit your home page, go to the section list and click the pencil icon to edit the section. Change the title and text as you like and then click Save.
Don't set these fields to blank values
If you don't want either the title or the text on your homepage, we'll show you how to turn them off later, but if you set them to blank values, you can affect other operations on your site.
«cliktip»
2.3 Your site title
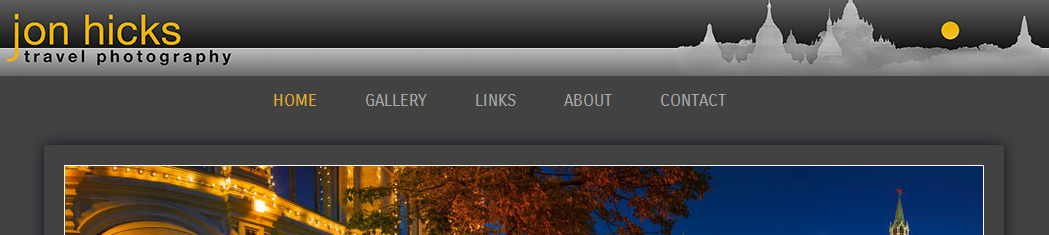
By default your site shows the title in the header. To change this, edit your site title in Site management > Site details.
It is possible to change your header font and style, which we'll cover later. Even better, if you are able to create your own artwork in, say Photoshop, you can upload your own header artwork. See Cliktips Guide A2 Adding a header graphic for instructions.
3. Images on your home page
3.1 Assigning images to your home page
The main image is selected from your Homepage Images set. This is covered in Stage II of the user guide.
3.2 Changing from a slideshow to a static image (and vice versa)
If your style has a large image on the home page, you can turn this into a slideshow by selecting Slideshow from the “image mode” options .
If you choose Standard and you have more than one image in your homepage images the system will randomly show a different image each time the user reloads the page.
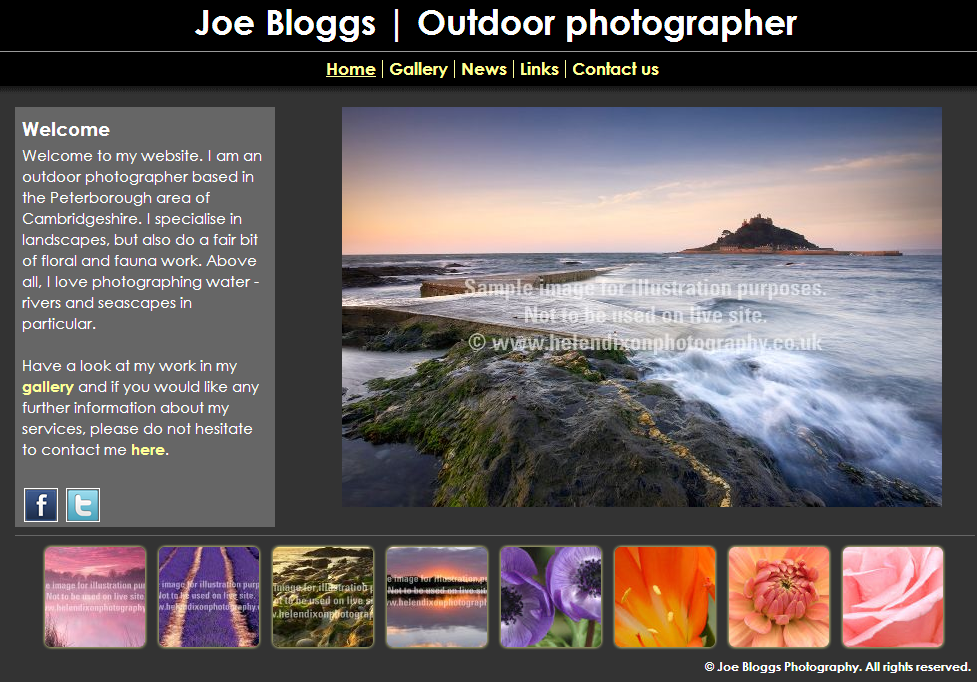
4. Editing ‘message panels’

Message panels are a set of optional content items that show how a grid and the extra content works.
If your site doesn't have the panels showing, you can test them out by going to Content > Other content and clicking the Optional tab to show a list of the content options for your site. Find the footer grid and click add to site. Now preview your site. You should see the items at the bottom of your page.

To edit the message panels themselves, preview your site and click edit. Click one of the panels. In the styling panel, click “edit other settings”. You will be taken to the edit page for tht content section.
Adding your own grids or items
You can add as many grids and items as you like via the Other content system. For full details, see the user guide E5 Styling Grids
«cliktip»
5. Adding social media icons
5.1 How to add a social media icon

Most of our templates include 6 social media icons, although these are rarely live on the default template: Facebook, Twitter, Google Plus, LinkedIn, Pinterest and You Tube. You can make whichever ones you want live, link to your social media page, change their sort order, even change the icon altogether. Just click on Content > Social media > Click on the respective record. There are only three fields you need to be aware of:
Live. To add/remove the icon from your website, simply tick/untick this and click on SAVE at the bottom.
Sort order. Use this to affect the order the icons appear in. Remember to use integers of 10 so if you add something at a later stage you don’t have to re-number all of the records.
Link URL. Enter the web address of your social media page.
Click on Content > Social media to repeat the process.
5.2 Having a Facebook ‘like’ button and a Twitter ‘follow me’
These work in a different way and require you to obtain a code from the respective provider. Whilst this is still fairly straightforward, we cover it in more detail in Cliktips Guide A3 Adding social media buttons.
5.3 Using other social media
You can replace any of the icons just by uploading a different image in the respective record and amending the link. The icon will need to be 32 x 32 pixels in size.
6. The next stage
Now that you have sorted your home page, images and galleries, the remaining sections are are all fairly straightforward. You can add single page sections, blog type sections with multiple articles, contact forms, listings, pricing, and if you enable e-commerce, a shopping cart. These are covered in the next stage.
